 |
| Billy la Bufanda |
Therefore, when I wanted to surprise my Spanish 4+ class today with something special, Billy la Bufanda came to mind. I know my students like food and they like Billy la Bufanda, so why not make an edible version of Billy?
I asked my daughter to help brainstorm how to make an edible Billy because she is the queen of creative desserts. Then I searched on Pinterest (no edible Billy's to be found) and decided it was high time that Billy make an appearance in cake form.
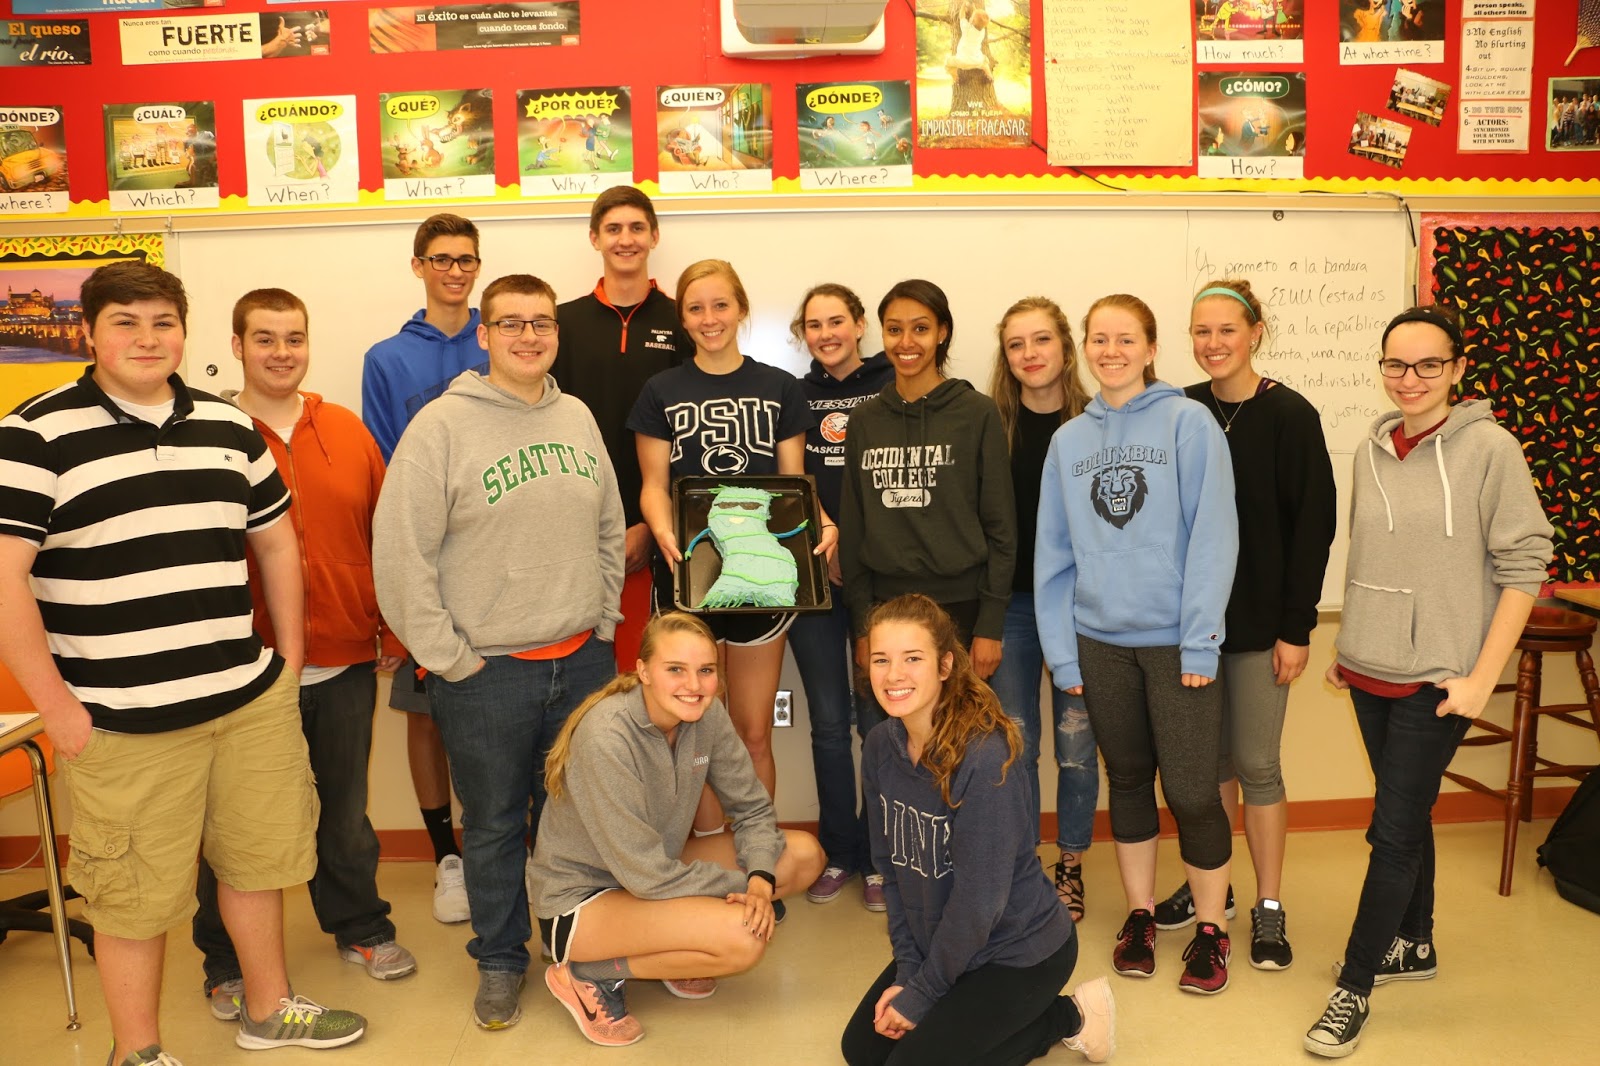 |
| Spanish 4+ students and Billy la Bufanda |
 |
| Isaac is the brave soul that cut Billy. |
Items needed: heavy duty cardboard, pencil, scissors, hot glue gun, heavy duty aluminum foil, cake batter, icing, blue, green, and black food coloring, colored Twizzlers.
How to Make a Billy la Bufanda Cake
1. Watch the short video "How to Make a Custom Cake Pan".

 2. Decide the size of the cake you want. I wanted my cake pan to fit onto my oven's drip pan so I sketched Billy to fit within those restraints. (My oven's drip pan measures 19" x 14".) You also need to remember that the cake pan must fit into your oven. If you want a really big cake than you can make two separate pans and join the parts of Billy together when you decorate the cake.
3. Sketch the outline of Billy on a large piece of cardboard and cut out the outline. I got heavy cardboard at the grocery store when the person stocking shelves was breaking down the cardboard boxes. (Note: I sketched Billy as he appears online, knowing that I was going to flip the cake two times, so I didn't need the inverse of Billy.)
4. Put the cardboard shape of Billy on a sheet of wax paper and trace the form onto the wax paper. Set aside until step #8.
5. Cut additional strips of cardboard, 2 inches wide. Use a hot glue to glue the strips perpendicular to the outline.
6. Put a large sheet of aluminum foil under the cardboard outline and fold the foil up and over the glued sides. Use additional sheets as needed to cover the outside bottom of the cut-out form and to fully cover the 2-inch sides.

7. Tear off a 2nd large sheet of aluminum foil and place it in the inside of the form and press it on the bottom and the sides of the cake form.


9. Place the cardboard/aluminum foil cake pan onto the drip pan.
10. Mix the cake ingredients, use a boxed cake mix or make it from scratch. Pour the batter into the cake pan, leveling the batter to fit in every corner of the pan. Bake according to directions.
*Note: If using a boxed cake mix and your Billy cake form is similar to the size of mine, you will only need 1 cake mix.

11. Remove cake from oven and allow to cool on a wire rack.
12. Take a knife around the edges of the pan and gently push the cake edges toward the cake and the aluminum foil sides away from the cake. This is a big advantage to making your own cake pan with aluminum foil because you can bend the foil away from the cake making it easier to remove from the pan.
13. Place a wire cooling rack on the top of the cake and flip the cake upside down.

14. Ease the cake out of the cake pan.

15. Carefully lift off the wax paper from the cake.

16. Immediately, place the pan or sheet on which the cake will be decorated, on the bottom of the cake and flip the cake the second time. Allow time for the cake to cool.

17. Mix or buy icing. Divide the icing and put it into 4 different bowls. Use food coloring to dye the majority of the icing blow. Save a little icing to dye green (for the stripes on Billy) and a small amount to dye black (for Billy's sunglasses), and leave about 1-2 tablespoons white (for Billy's teeth). Put blue icing on the entire cake and sides. Use a decorator's tip to pipe the green strips on Billy.

19. Use blue and green Twizzlers for Billy's arms and hands. Cut the blue Twizzler's the correct length for the arms. Cut 2 small pieces of a green Twizzlers to the shape of Billy's hands. Use a knife to cut strips of green Twizzler's for the fringes on the scarf.

20. Share Billy la Bufanda and ENJOY!
*Update: I forgot to add Billy's eyebrows! To add them, use either green Twizzlers or the green icing.
No comments:
Post a Comment